
I’ll never forget the morning I pulled my first sourdough from the oven, excited to slice into what I thought would be bakery-perfect bread. Instead, I discovered a heavy, compact brick that barely resembled the airy loaves I’d dreamed about. Standing in my grandmother’s kitchen, fighting back tears of frustration, I realized that dense bread wasn’t a failure – it was a teacher. That disappointing loaf sparked my journey to understanding what makes sourdough light and fluffy.
Dense sourdough bread happens to everyone, even experienced bakers. You’ve fed your starter faithfully, followed recipes exactly, yet somehow created a loaf that could anchor a boat. Don’t worry – you’re not alone, and more importantly, it’s fixable! This guide breaks down every reason your bread might be heavy and gives you simple solutions. No complicated science lectures, just practical tips that actually work. Ready to transform your dense sourdough bread into light, airy loaves.
🍞 Check these first when your dense sourdough bread turns out heavy:

Check these first when your bread turns out heavy:
Starter Health
- Does your starter double in 4-8 hours?
- Does it float in water?
- Is it at least 2 months old?
- Does it smell pleasantly sour (not like nail polish)?
Ingredients
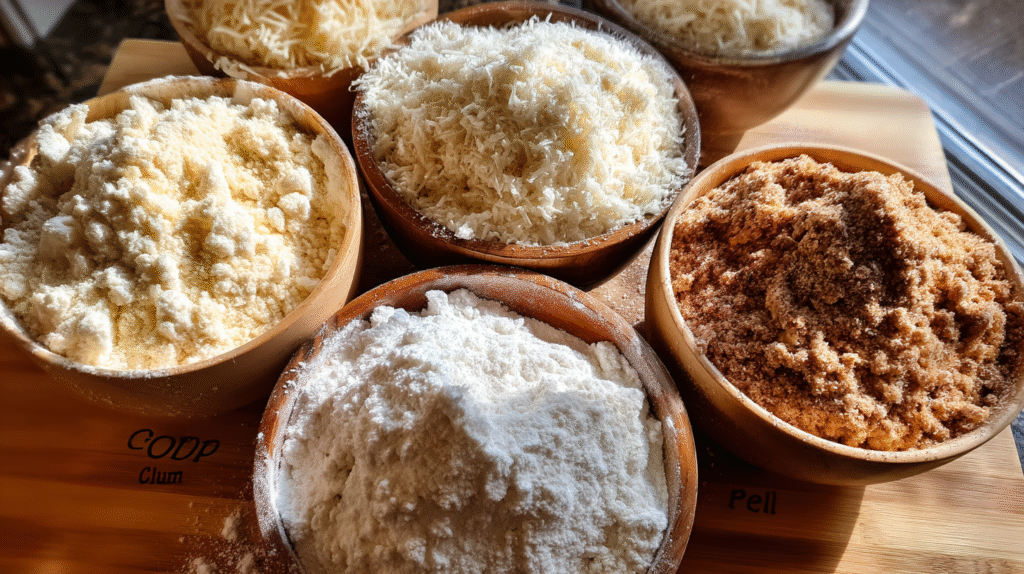
- Are you using bread flour (12-14% protein)?
- Is your water chlorine-free?
- Are you measuring ingredients by weight?
- Is your flour fresh (not expired)?
Process
- Did you let the dough rise until nearly doubled?
- Is your kitchen warm enough (75-78°F)?
- Did you do at least 4 sets of folds?
- Did the poke test show proper proofing?
Baking
- Was your Dutch oven preheated for 45 minutes?
- Did you score decisively just before baking?
- Did you bake covered for first 20 minutes?
- Did internal temperature reach 205-210°F?
✅ If you checked NO to any box, that’s likely your problem!
Understanding Why Sourdough Becomes Dense:
The Science Behind Dense Bread
Think of sourdough like a balloon party. Your starter creates tiny gas bubbles that should make the dough puff up. When dense sourdough bread appears, those bubbles either didn’t form or escaped before baking.
Your starter contains natural yeast and friendly bacteria. They’re like a tag team – yeast makes the bubbles while bacteria adds flavor and helps the dough hold together. When they’re not working well together, you get dense sourdough bread.
The dough itself needs to be strong enough to trap those bubbles. Imagine trying to blow bubbles with watery soap – they pop instantly! Same thing happens with weak dough. It can’t hold the gas, so your bread stays flat.
Temperature matters more than most people realize. Too cold, and your starter works super slowly. Too hot, and it gets tired out. Finding that “just right” temperature makes all the difference.
Common Culprits of Heavy Loaves
The number one cause? Using a starter that’s too young. Like a puppy learning to fetch, new starters need time to get strong. Most need at least two months before they can properly raise bread.
Your flour choice makes a huge difference. Some flours just don’t have enough protein to create good structure. It’s like trying to build a house with wet cardboard instead of sturdy wood.
Whole wheat flour can be tricky. Those little bran pieces actually cut through the dough structure like tiny knives. That’s why 100% whole wheat often creates dense sourdough bread than white bread.
Don’t forget about your water! Tap water with lots of chlorine can weaken your starter. If your water smells like a swimming pool, let it sit out overnight before using.
What Your Dense Sourdough Bread Is Telling You:
| If Your Bread Looks Like… | The Problem Is… | The Fix Is… |
|---|---|---|
| Dense with tiny holes | Weak starter | Feed 2x daily for a week |
| Gummy inside | Underbaked | Bake 10 min longer |
| Flat pancake | Overproofed | Reduce rise time |
| Good crust, dense center | Not enough gluten | More folds next time |
| Uneven huge holes | Shaping issues | Gentler, tighter shaping |
Starter Health and Maturity Issues

Testing Your Starter’s Readiness
A happy starter doubles in size within 4-8 hours after feeding. Watch for this consistent behavior – it’s like checking if your car starts reliably every morning.
The smell tells you everything. Good starters smell pleasantly sour, like yogurt or beer. Bad smells (nail polish, very sharp vinegar) mean your starter is stressed and needs help.
Try the float test: Drop a spoonful in water. If it floats, you’re ready to bake! If it sinks, give it more time. This simple test prevents dense sourdough bread frustration.
Look for lots of bubbles throughout, not just on top. The whole jar should look alive and active, like a gentle simmer on the stove.
Building Starter Strength
Feed your starter like a growing teenager – regularly and generously! Twice daily feedings at room temperature work best for building strength.
Try the power boost trick: Replace some regular flour with rye flour. Rye is like superfood for starters – it really gets them going!
Keep your starter warm and cozy. Around 75°F is perfect. Too cold and it gets sluggish. The oven with just the light on makes a great warm spot.
Be patient! Building a strong starter to avoid dense sourdough bread takes weeks, not days. Think of it like training for a marathon – you can’t rush the process.
| Starter Age | What to Expect | Ready for Bread? |
|---|---|---|
| 1-2 weeks | Bubbles on top only, inconsistent rise | ❌ Too young |
| 3-4 weeks | Some rise, smells very sour | ❌ Getting there |
| 2-3 months | Doubles reliably, pleasant aroma | ✅ Yes! |
| 6+ months | Triples easily, very predictable | ✅ Professional level |
Perfecting Your Dough Development
Hydration and Flour Selection
Water amount (what bakers call hydration) can prevent dense sourdough bread. Start with medium hydration – not too wet, not too dry. Think pizza dough consistency.
Bread flour is your best friend. It has more protein than all-purpose flour, which means stronger dough and better rise. It’s worth the extra cost!
If using whole wheat, add extra water. The bran soaks up liquid like a sponge. Start with a tablespoon more per cup of whole wheat flour.
Mix different flours for best results. Try 80% white bread flour with 20% whole wheat. You get flavor without sacrificing fluffiness!
| Flour Type | Protein % | Density Impact | Best For |
|---|---|---|---|
| Cake Flour | 7-9% | Very Dense ❌ | Never use! |
| All-Purpose | 10-11% | Medium Dense ⚠️ | Mix with bread flour |
| Bread Flour | 12-14% | Light & Airy ✅ | Perfect choice |
| Whole Wheat | 13-14% | Naturally denser | Mix 20% with white |
| Rye Flour | 8-9% | Dense but flavorful | Starter boost only |
Gluten Development Techniques
Forget aggressive kneading! Gentle stretching and folding works better. Treat your dough like a sleeping baby – firm but gentle.
The stretch and fold method is magic. Every 30 minutes, stretch one side up and fold it over. Turn the bowl and repeat four times. That’s it!
You’ll know it’s ready when the dough feels smooth and elastic. It should stretch without tearing, like good pizza dough.
Don’t rush this step. Good things take time, and proper gluten development is worth the wait. Your patience pays off in lighter bread.
Mastering Proofing and Baking
Temperature Control and Timing
Keep your dough around 75-78°F for best results. Use a simple thermometer – guessing doesn’t work here! A few degrees really does matter.
The poke test tells you when dough is ready. Poke it gently – if it springs back slowly, leaving a small dent, it’s perfect. Too fast means wait longer.
Don’t watch the clock – watch your dough. Every kitchen is different. Your bread tells you when it’s ready, not the recipe timer.
Cold proofing overnight in the fridge is a game-changer. It’s more forgiving and adds amazing flavor. Plus, you can bake fresh bread in the morning!
| Room Temp | Bulk Rise Time | Final Proof Time | Result |
|---|---|---|---|
| 65°F (18°C) | 6-8 hours | 3-4 hours | Slow but flavorful |
| 70°F (21°C) | 5-6 hours | 2-3 hours | Good balance |
| 75°F (24°C) | 4-5 hours | 1.5-2 hours | Ideal timing |
| 80°F (27°C) | 3-4 hours | 1-1.5 hours | Fast – watch carefully! |
Oven Spring Optimization
Get that oven HOT! Preheat your Dutch oven for 45 minutes at 500°F. This blast of heat makes bread spring up like magic.
Score confidently just before baking. One swift cut is better than tentative scratches. Use a sharp blade and don’t hesitate.
Keep that lid on! The first 20 minutes need steam. Resist the urge to peek – patience creates better bread.
After removing the lid, bake until deep golden. Pale bread is often dense sourdough bread. Don’t be afraid of good color!
Common Problems & Quick Fixes
🚨 Emergency Fixes for Dough in Progress:
- Dough not rising after 2 hours?
- Move to warmer spot (oven with light on)
- Add pinch of sugar to feed starter
- Be patient – cold dough takes longer!
- Dough too sticky to handle?
- Wet your hands instead of adding flour
- Use bench scraper for shaping
- Embrace the stickiness – it means moisture!
- Forgot to add salt?
- Dissolve in 1 tbsp water and fold in
- Add during next set of folds
- Expect slightly faster rise
- Overproofed dough?
- Shape gently and proof less next time
- Bake in a pan for support
- Still edible, just denser!
Frequently Asked Questions
Why is my sourdough bread so dense?
Usually it’s because your starter isn’t strong enough yet. Make sure it reliably doubles in 4-8 hours after feeding. Also check you’re using bread flour (not all-purpose) and giving the dough enough time to rise properly.
How to make sourdough bread less dense?
Feed your starter regularly to build strength, use bread flour with good protein content, and be patient with rising times. Make sure your kitchen is warm enough – cold dough rises very slowly.
How can you prevent your sourdough bread from turning out hard and dense?
Keep your starter healthy with regular feedings, don’t rush the process, and make sure your oven is properly preheated. The float test is your friend – use it every time!
What causes gummy texture in sourdough?
Gummy bread usually means it’s underbaked. Even if the outside looks done, the inside needs to reach 205°F. Also, wait at least an hour before cutting – hot bread is always gummy!
Conclusion
Every dense sourdough bread teaches – we’ve all been there! Every heavy loaf teaches you something valuable about your starter, your technique, or your timing. The secret to light, airy sourdough isn’t complicated. It’s about paying attention to your starter’s health, being patient with the process, and making small adjustments based on what your dough tells you. Keep practicing with these simple tips, and soon you’ll be pulling beautiful, fluffy loaves from your oven. Remember, even professional bakers sometimes make dense sourdough bread. The difference is they know how to fix it – and now you do too!